CyberWraps Installation Instructions
Installation Supplies
- Safety cutter (Included)
- Squeegee (Included)
- Mini squeegee (Included)
- Painters tape
- Bowl
- Water
- Baby shampoo
NOTE: CyberWraps are installed using a “dry” installation method. This means that water/soap solution is not sprayed onto the film or Cybertruck. A solution of water with a drop of baby shampoo will, however, be used on the supplied felt-edge squeegee to reduce friction and lessen the chances that you will scratch your CyberWrap.
Installation Prep
- Wash your Cybertruck and ensure it is clean and free of all oils and contaminants.
- Ensure your Cybertruck is allowed time to fully dry (panel gaps can hold water for an extended period of time).
- Ideally, your CyberWrap should be installed in a clean garage at a temperature between 50° Fahrenheit and 80° Fahrenheit. Installation in direct sunlight will heat up the Cybertrucks surface and may cause the film to stretch.
- Open your CyberWraps box and inventory the contents. The package will include 13 vinyl panels as indicated on the packing list exploded view to allow for a seamless installation. (IMPORTANT NOTE: Each panel is digitally die-cut to fit precisely on a corresponding Cybertruck body panel with 3/8” of extra border material on each edge to allow for tucking into the seams between body panels.
- Prepare a bowl of water with a small drop of baby shampoo. Gently stir in the shampoo, to minimize suds. This solution serves as a lubricant to allow the squeegee to slide across the film and minimizes chances of scratching the film during installation.
CyberWrap Installation
- Tear off two strips of painters masking tape (approximately 5-6”)
- Apply the painter’s tape to the left and right edges of the CyberWrap film as shown.

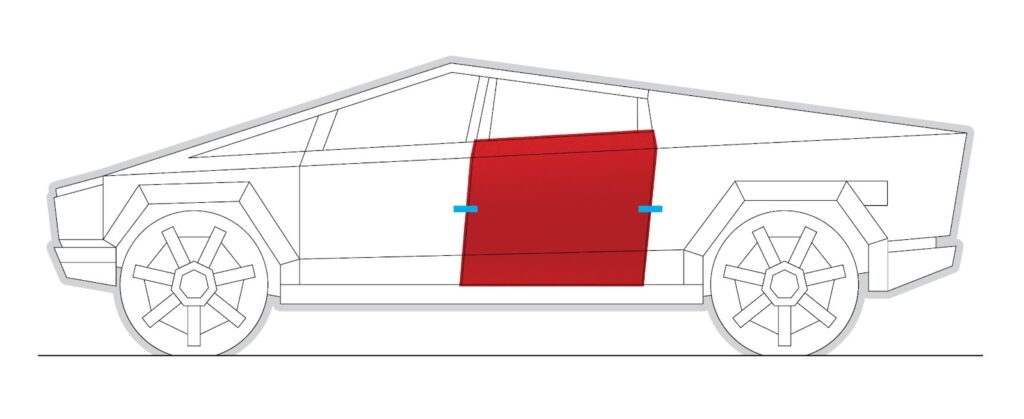
- Align with the corresponding Cybertruck panel, ensuring an even amount of film overlap on all sides of the Cybertruck panel and tape in place.
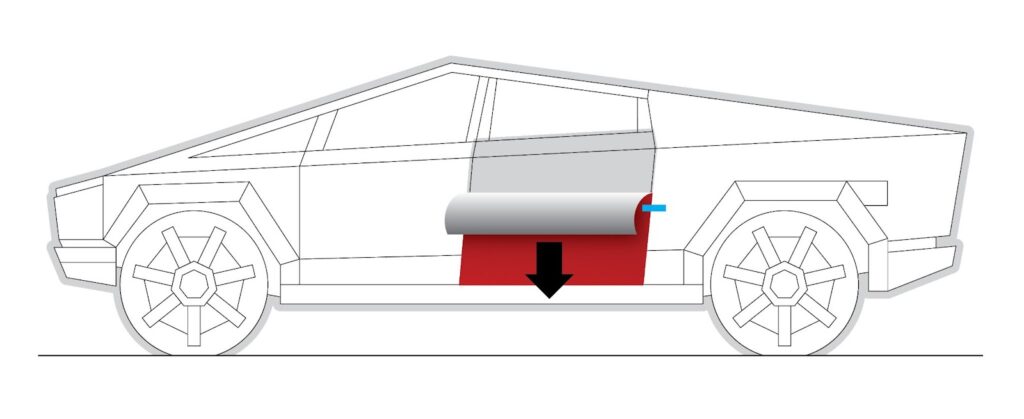
- Allow the top of the CyberWrap panel to hang away from the Cybertruck and carefully peel the backing paper off the top 1/3 of the panel.

- Cut the backing paper using the supplied safety cutter.
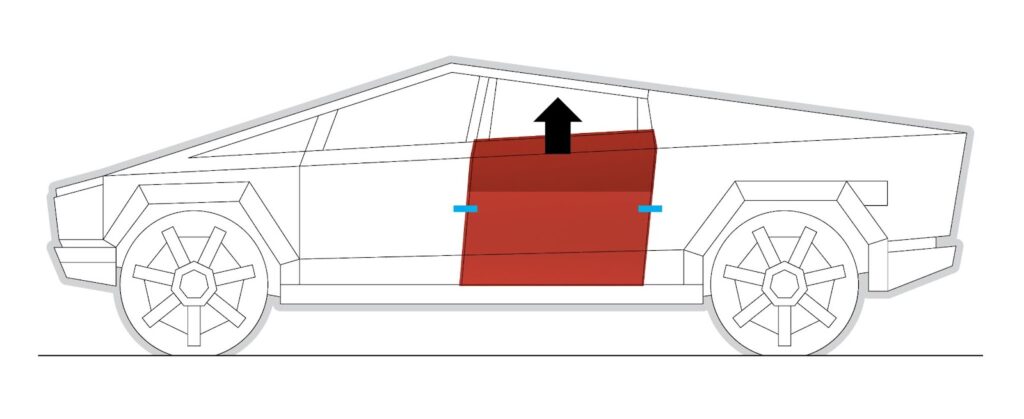
- Re-align the top of the CyberWrap panel with the body panel of the Cybertruck, ensuring even border area.

- Dip the microfiber felt edge of the squeegee into the water/baby shampoo solution. Re-wet the felt edge of the squeegee as often as required.
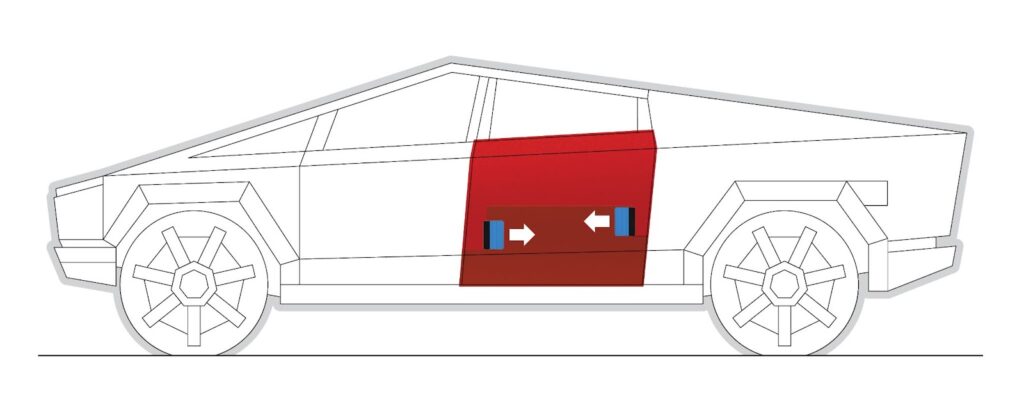
- Begin squeegeeing the vinyl down (gently at first followed by firm pressure) using long, slow, smooth strokes all the way across the vinyl while holding the squeegee at an angle as shown.

- When squeegeeing in the opposite direction, reverse the angle of the squeegee and overlap the strokes by approximately 50%.
- Once the CyberWrap panel is adhered securely at the top, remove the masking tape.
- Lift the bottom portion of the CyberWrap and gently pull down the backing paper from the top to expose additional adhesive as you work your way down the panel using the overlapping squeegee strokes.
- After the CyberWrap panel is installed on the body panel of your Cybertruck, tuck the edge area into the panel gaps and firmly press the film against the edge and rear surface of the body panel using the mini squeegee.
- Repeat the sequence for the next panel.
Remove Air Bubbles
- Air bubbles in your CyberWrap can be removed easily by applying pressure to the middle of the bubble with your thumb and rub out toward the bubble edges. The air will disperse along the air egress channels.


